Greenhouse III
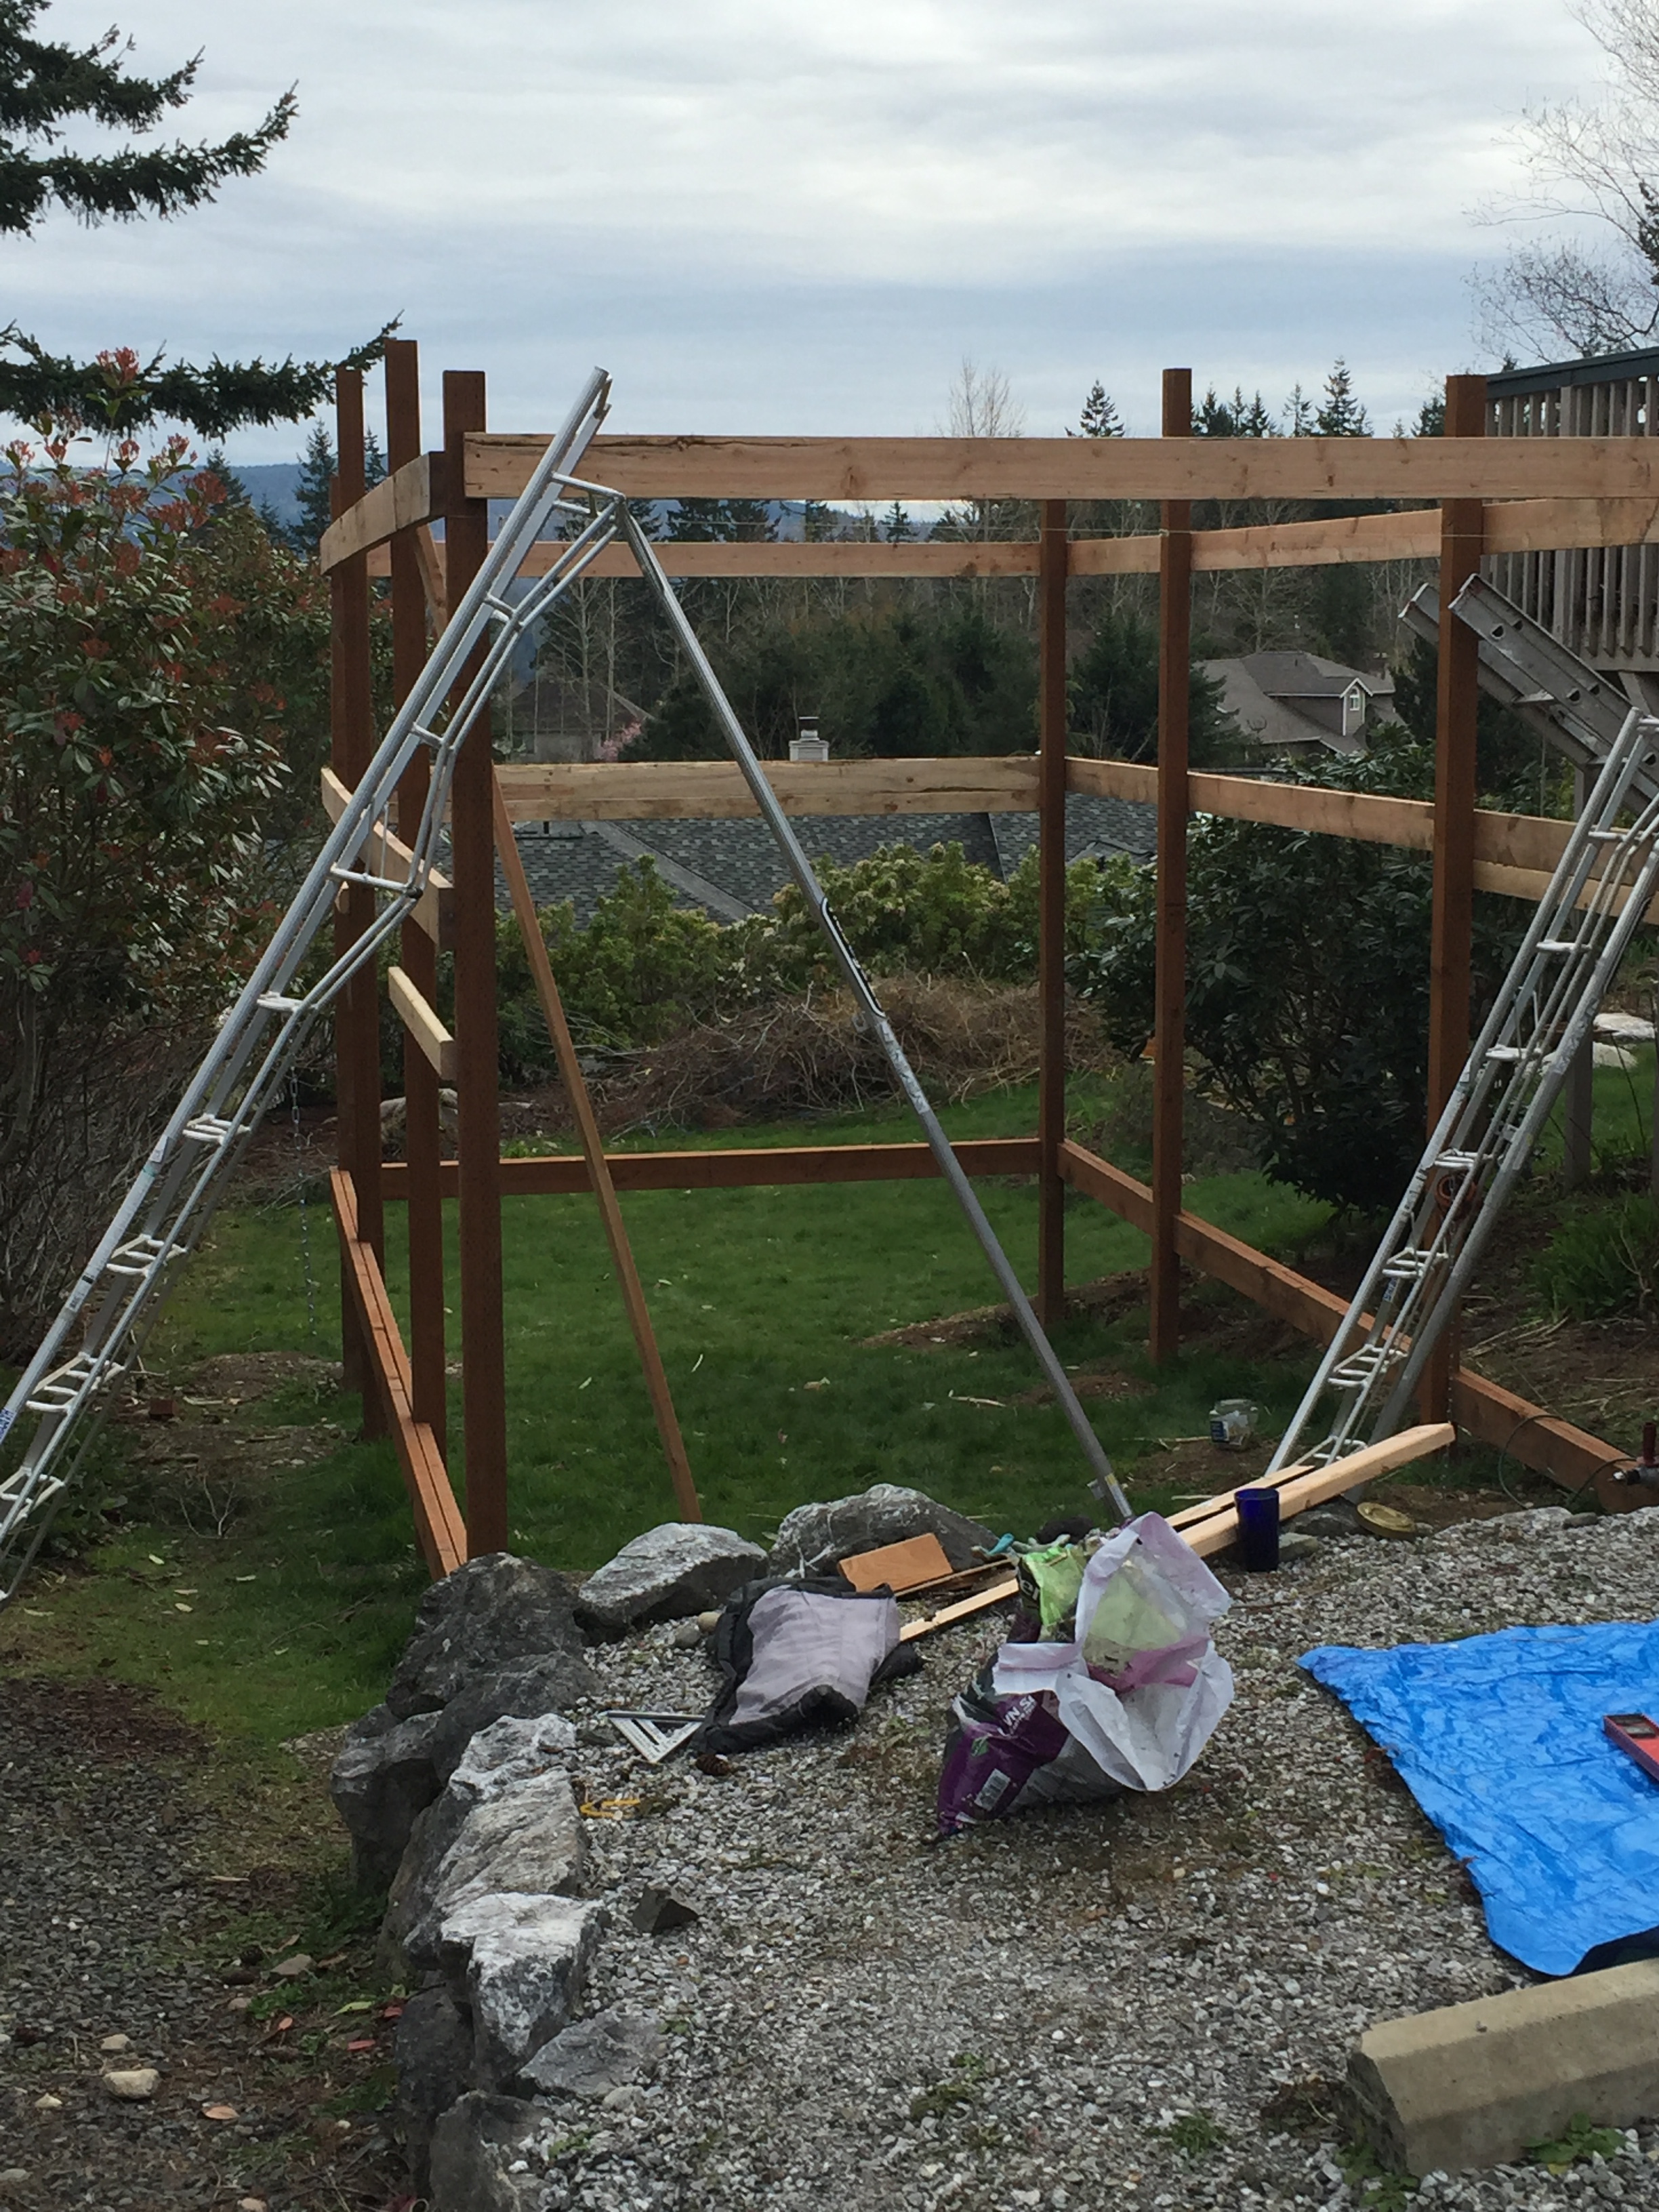
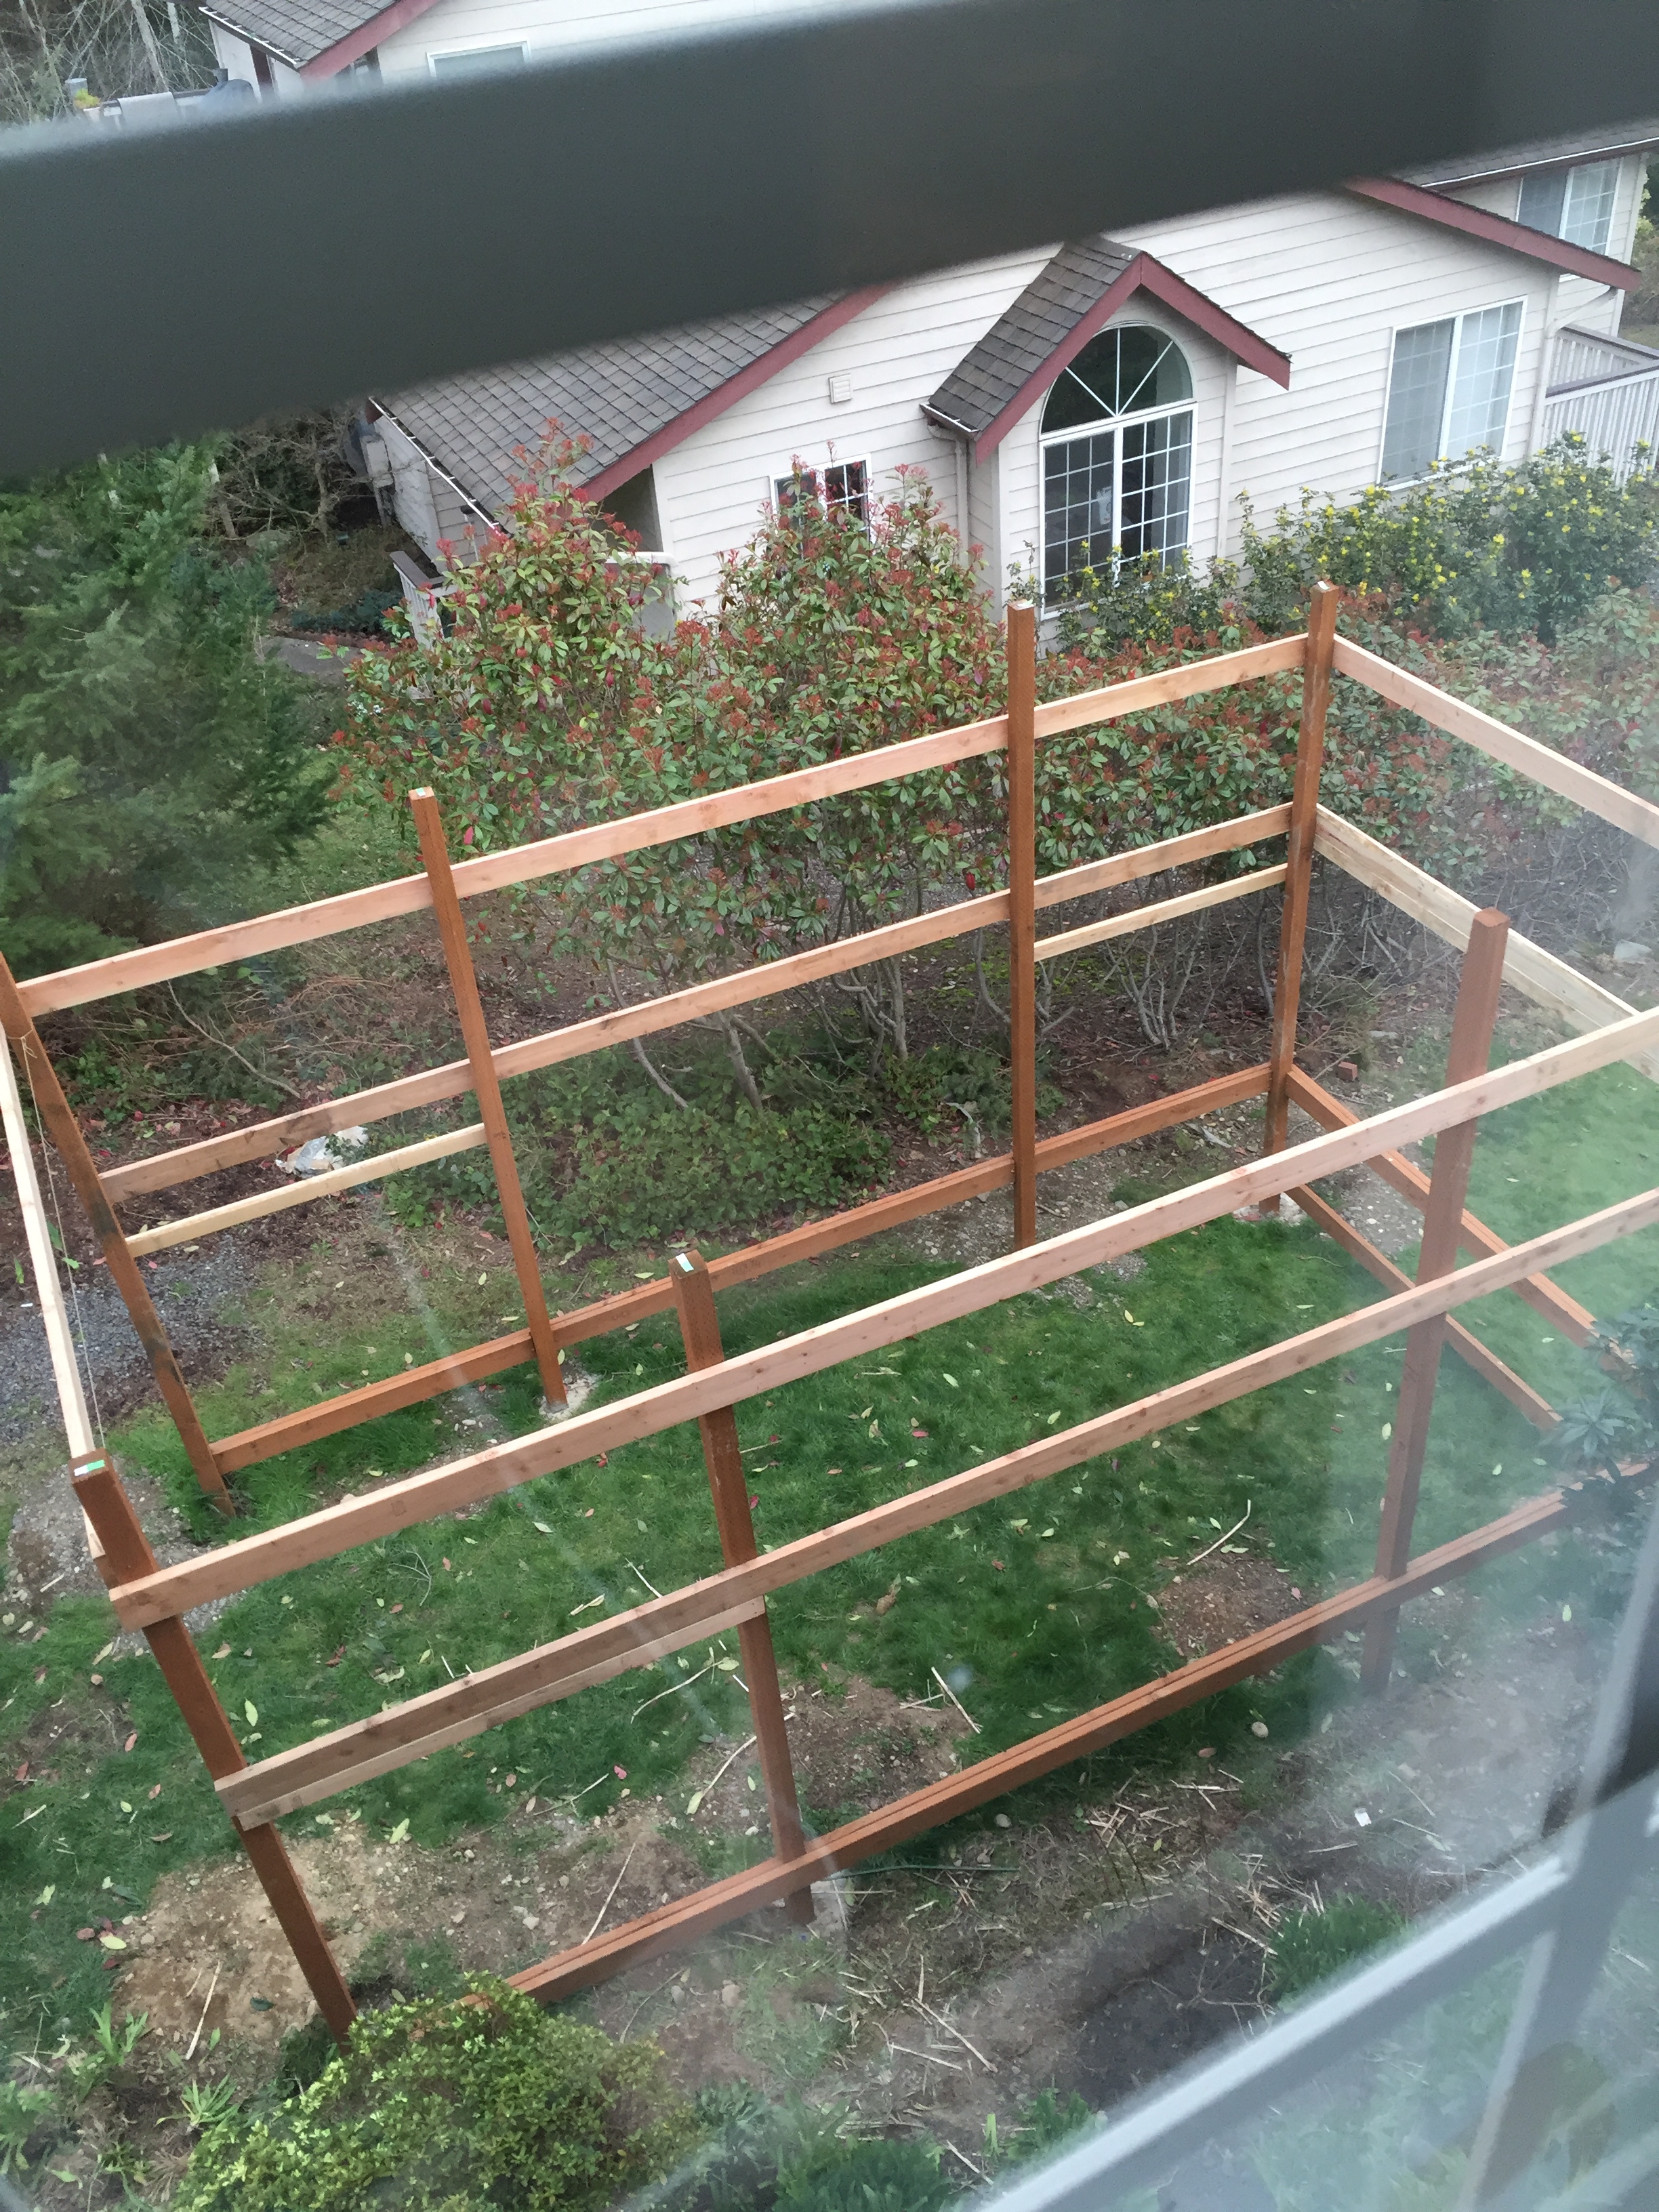
Once the posts were in, we needed to create a series of "belts" <my crazy word, no construction jargon from this girl> to tie around all of the posts. There would be a base level that the large windows would rest on, and then we would build around them. The next level would be in the middle to both hug the bottom level of windows- and serve as a place to screw in the top level. The final belt, around the top, would be a place to screw in the top of the windows and tie the posts all together, including the doorway. LUCKILY we had survived the wind storm and set the posts properly.
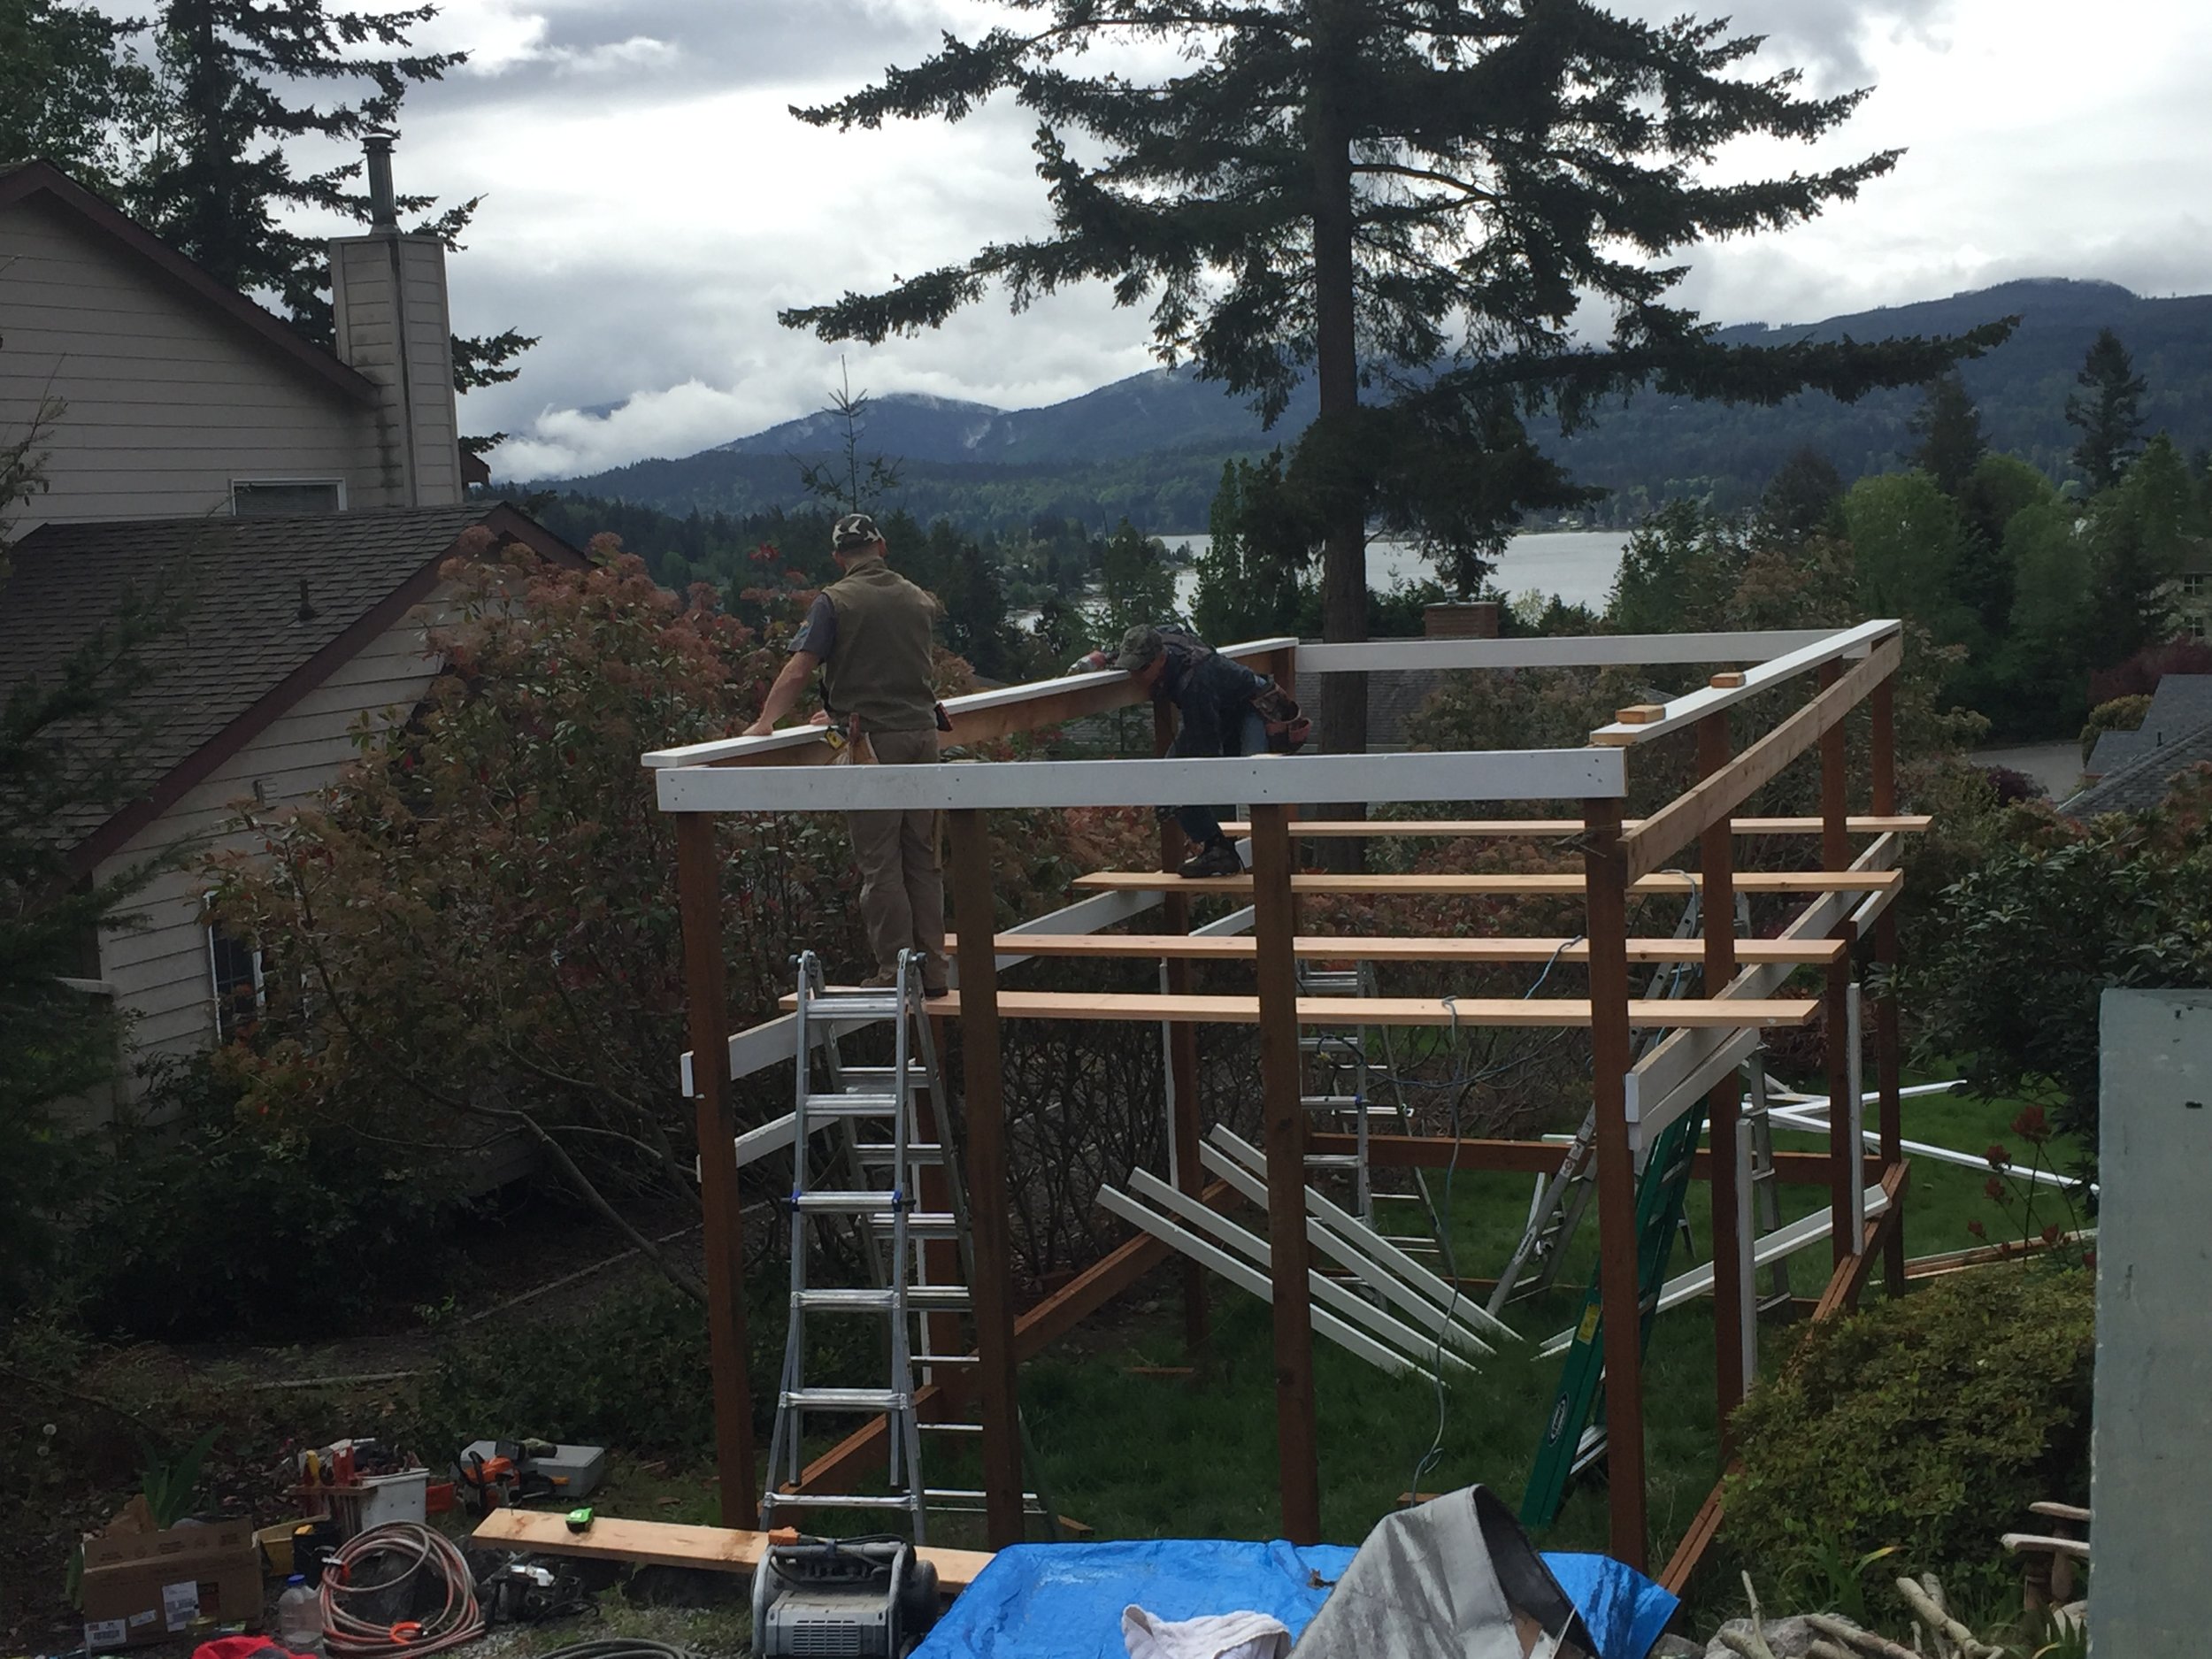
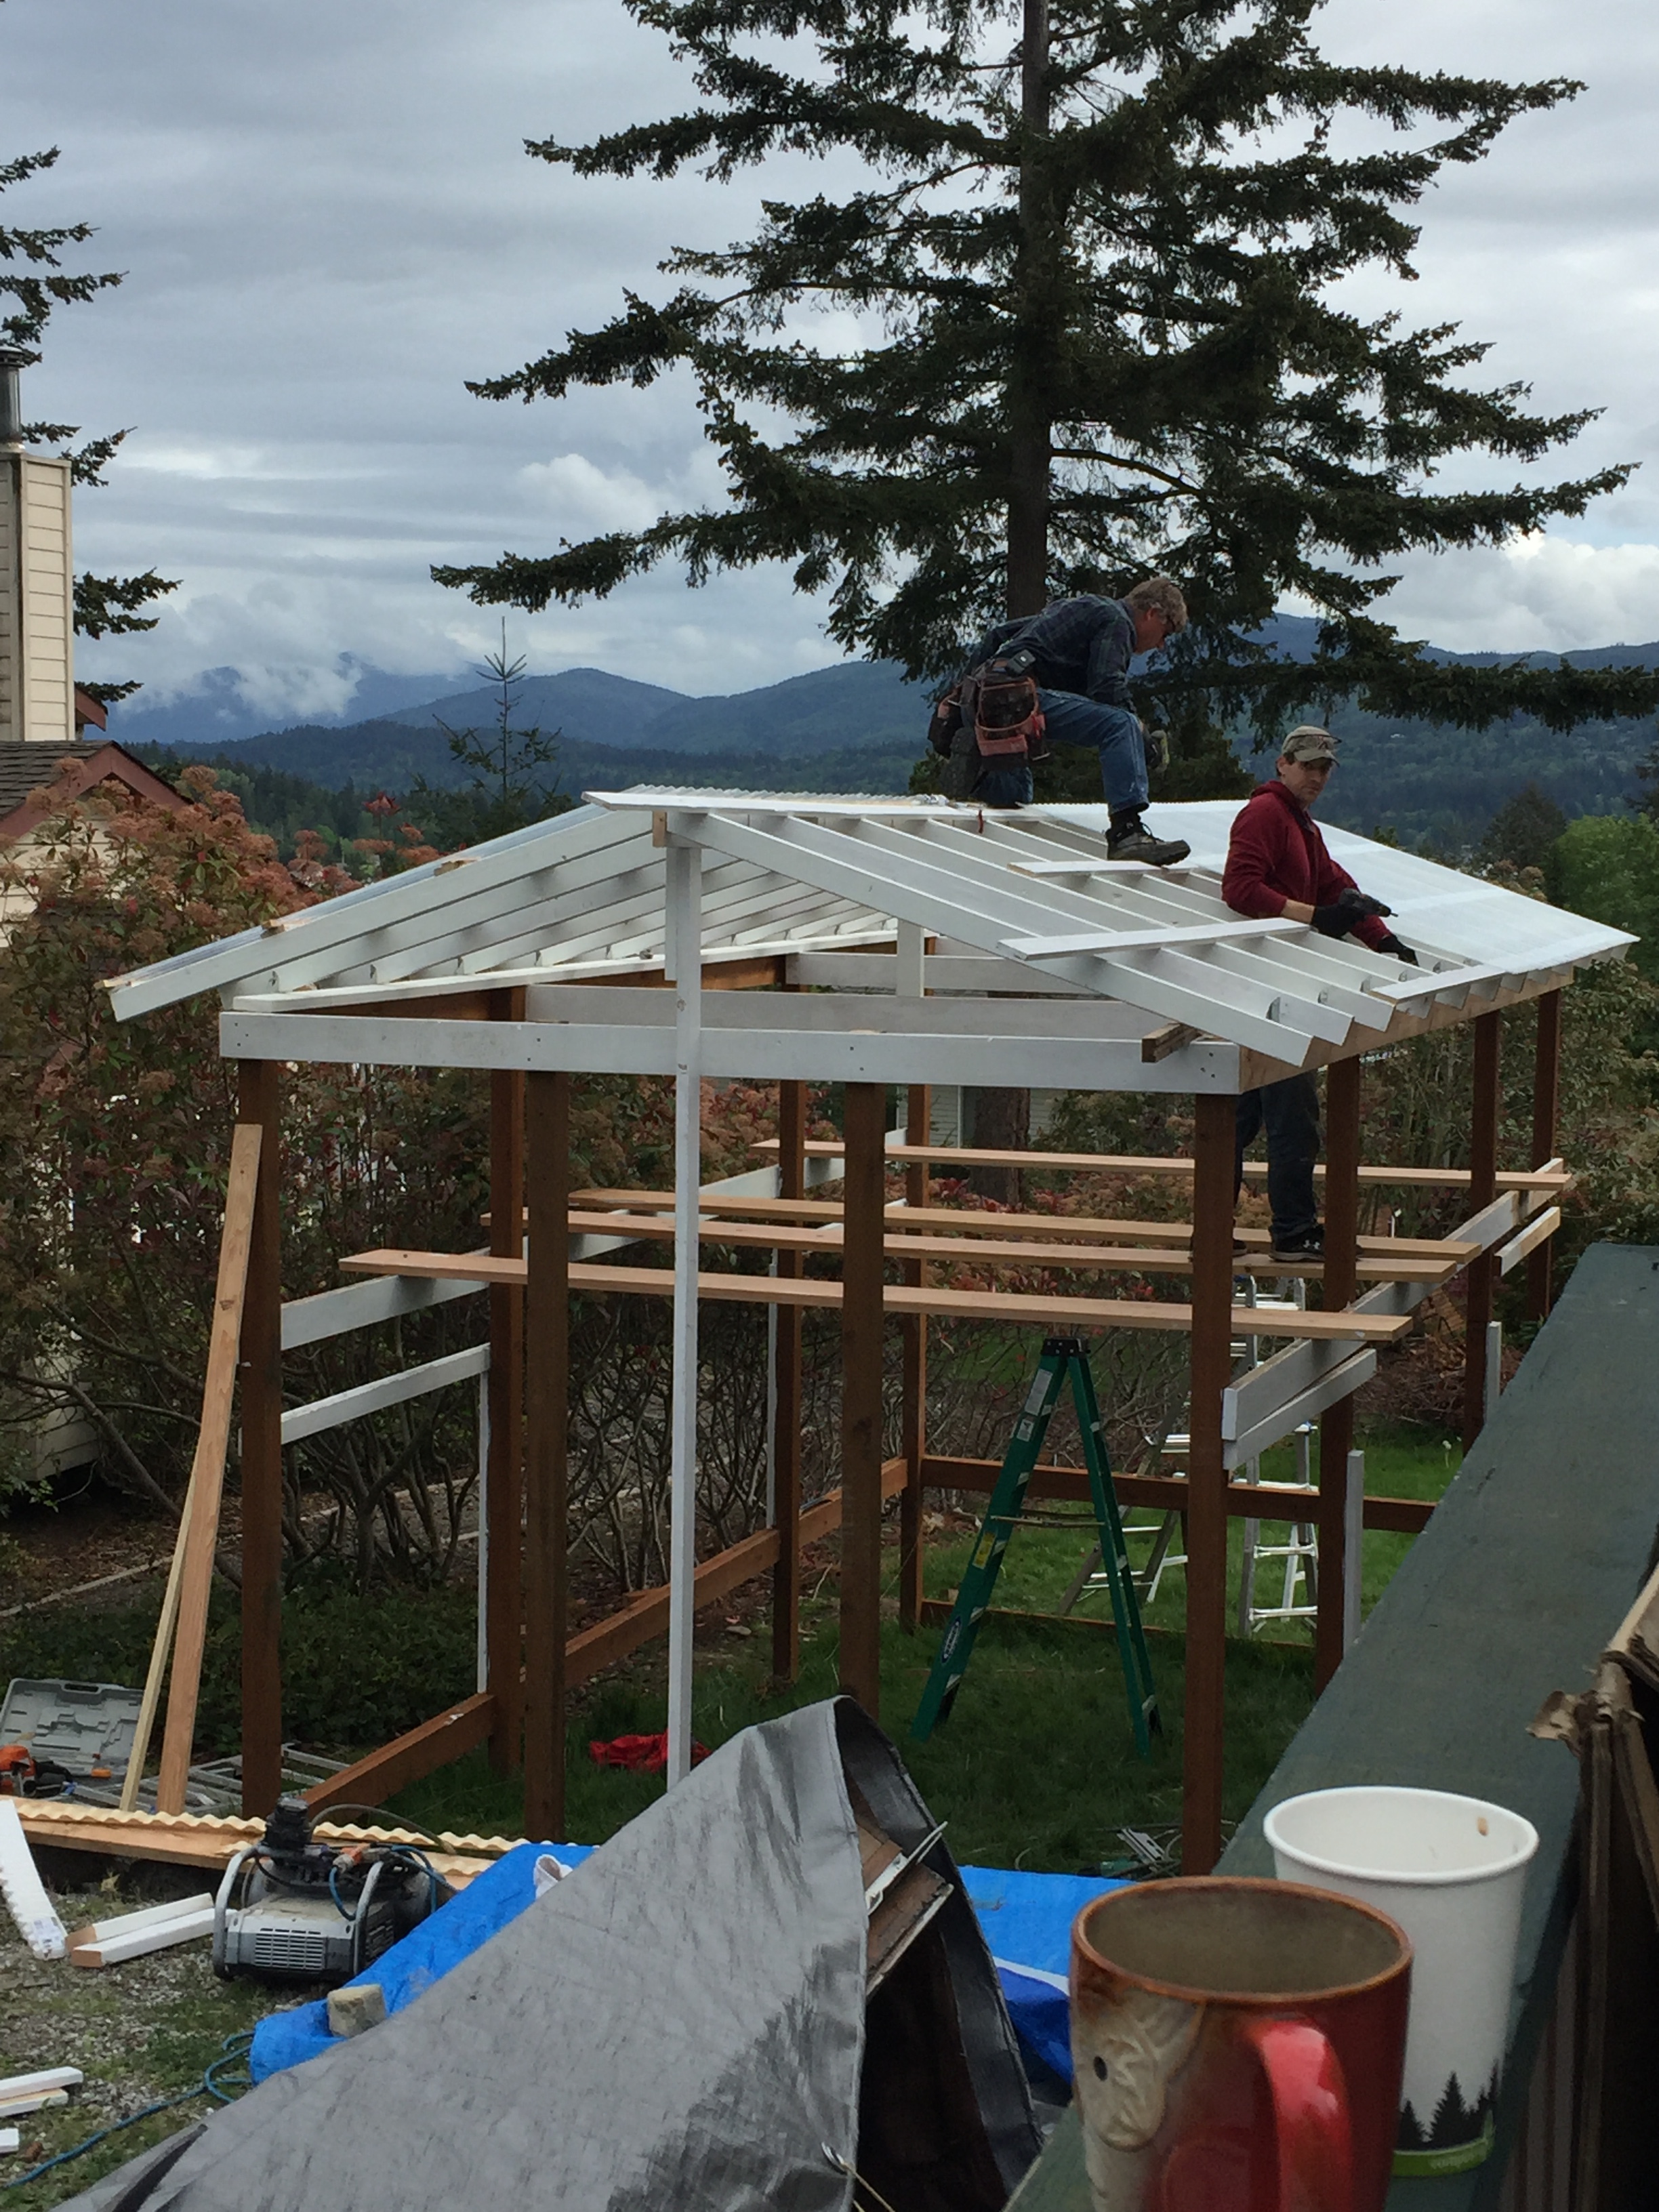
We also needed a top plate on the long sides of the structure. This would be where the rafters would tie in to the building. On roof day, we had two helpers, (who knew what they were doing) in order to set the plate properly, We literally lassoed the posts and heaved them together, so that the plate could be perfectly aligned front to back and side to side!
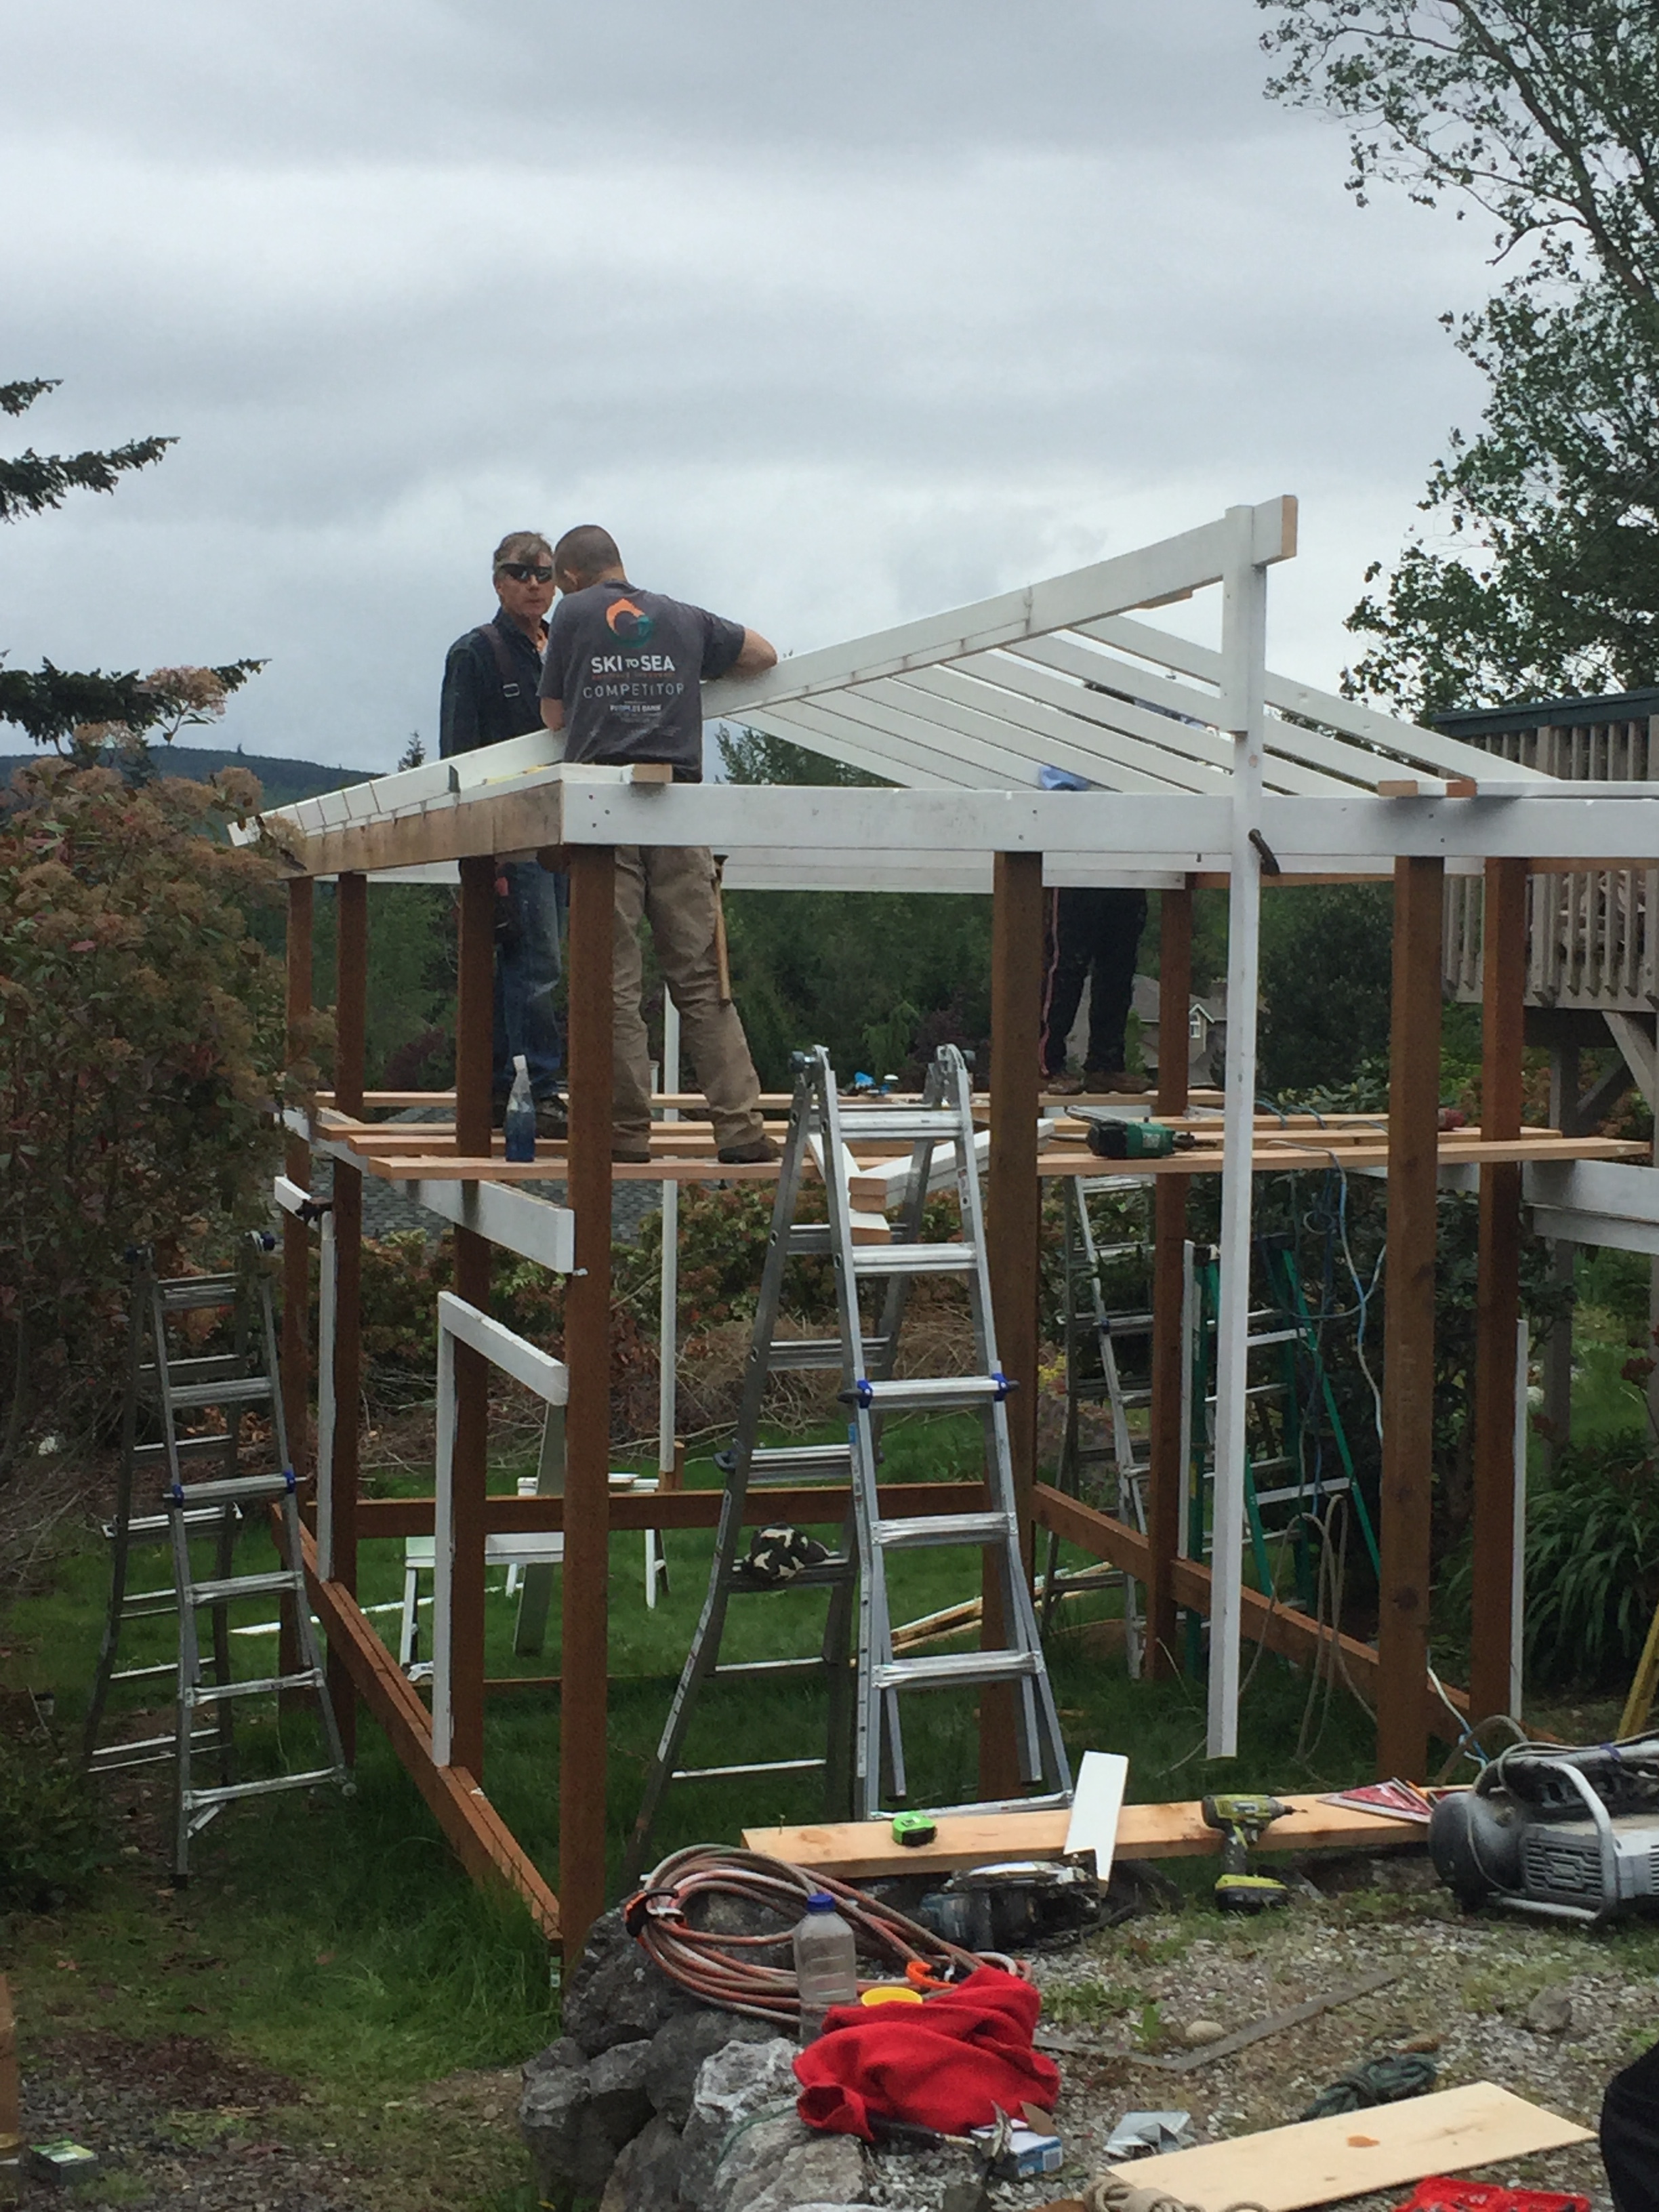
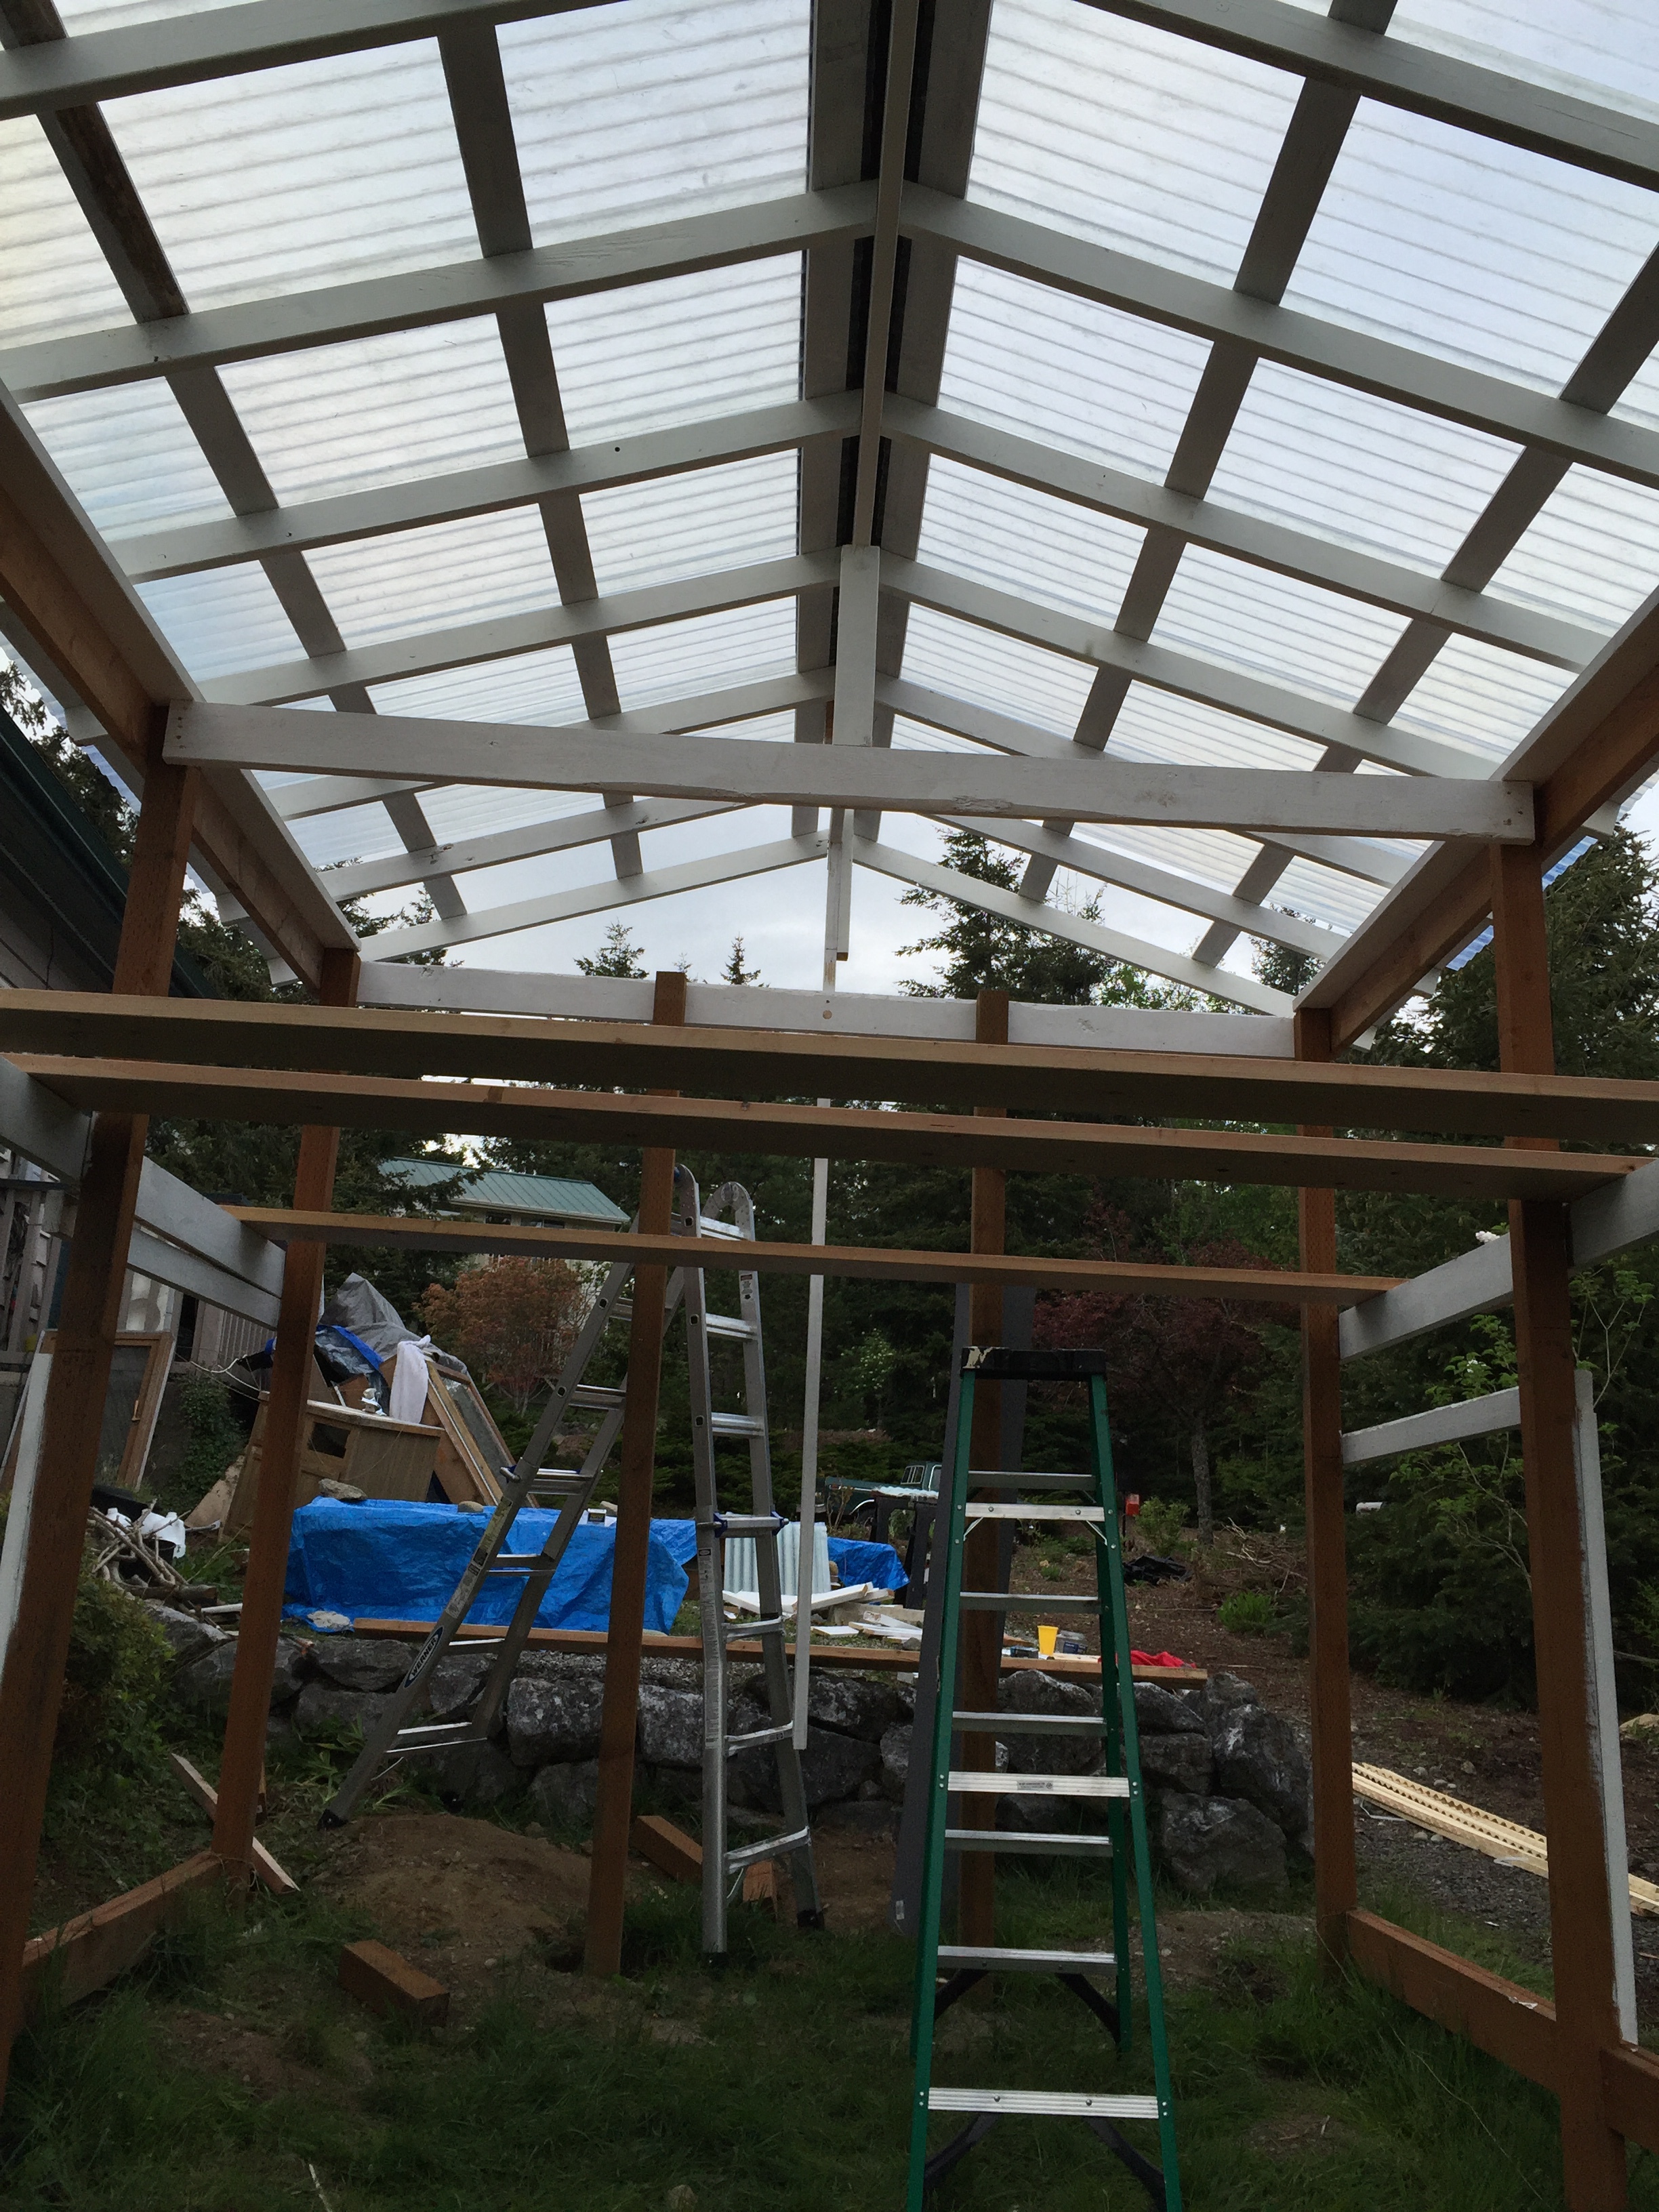
We decided on a 4x10 rise for the roof. Since the structure was so tall already, we didn't want a 4x12 and any shorter looked like a tiny hat on a huge head. We went with commercial grade roof panels from Lowe's, and lots of wood. The building was longer than our main roof joist, so we ended up adding an extra piece on to make it long enough to have an overhang. We then calculated the length of our rafters and cut tons of "ribs" for our roof. Once all of the pieces were cut, we used hurricane ties to fasten them to the plate we had fixed to the building. We chose hurricane ties for two reasons. 1. The wind here is nuts 2. I didn't want to have to perfect the "bird's mouth" style of cutting out a divot for the rafter to fit perfectly. The hurricane tie (with is less than $1 a piece, facilitates that angle and you just have to nail it in. So we hopped up on the large 2x12 boards that we had bought which were strung through the second "belt" and we got to nailing, and nailing, and nailing....
The next step was to fasten the 1x4 boards that would run horizontally across the roof. This would provide more places for us to screw in the roof panels, and create more support for the roof. To ensure that we would not be 16' up in the air for hours and hours after the fact, we were sure to prime and paint ALL of the roof related regalia. It was so time consuming, but so much better than the alternative.
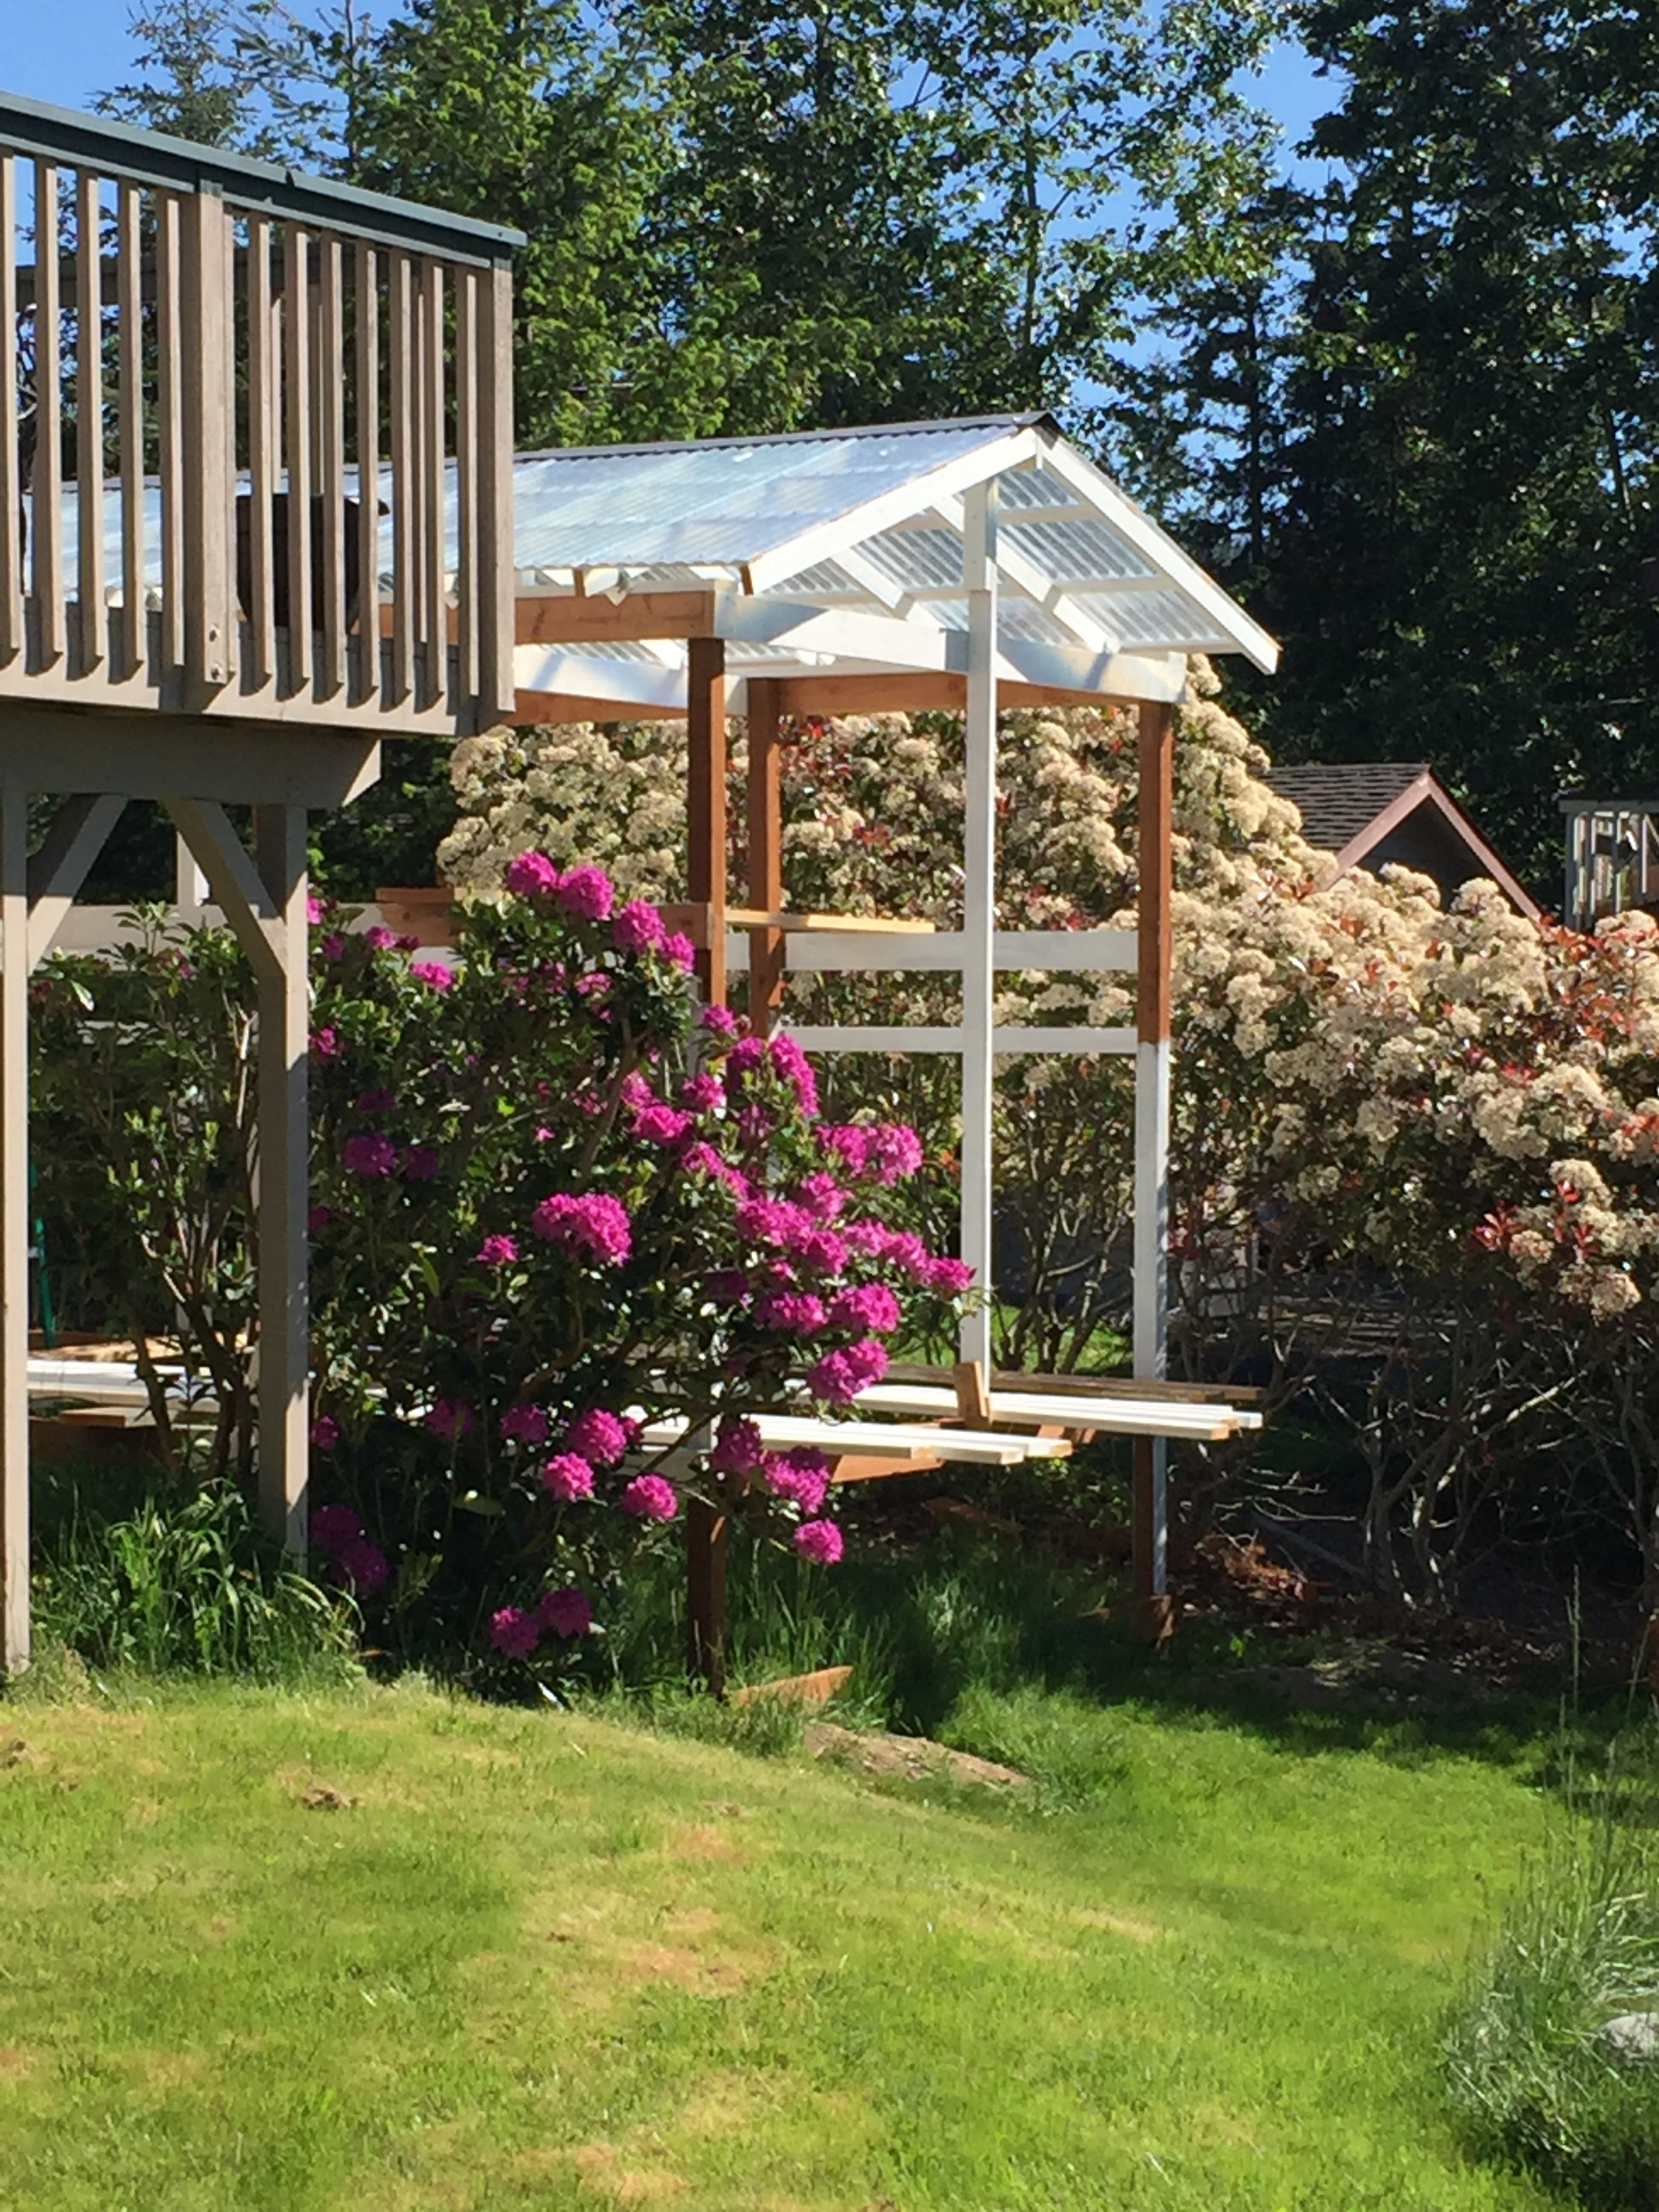
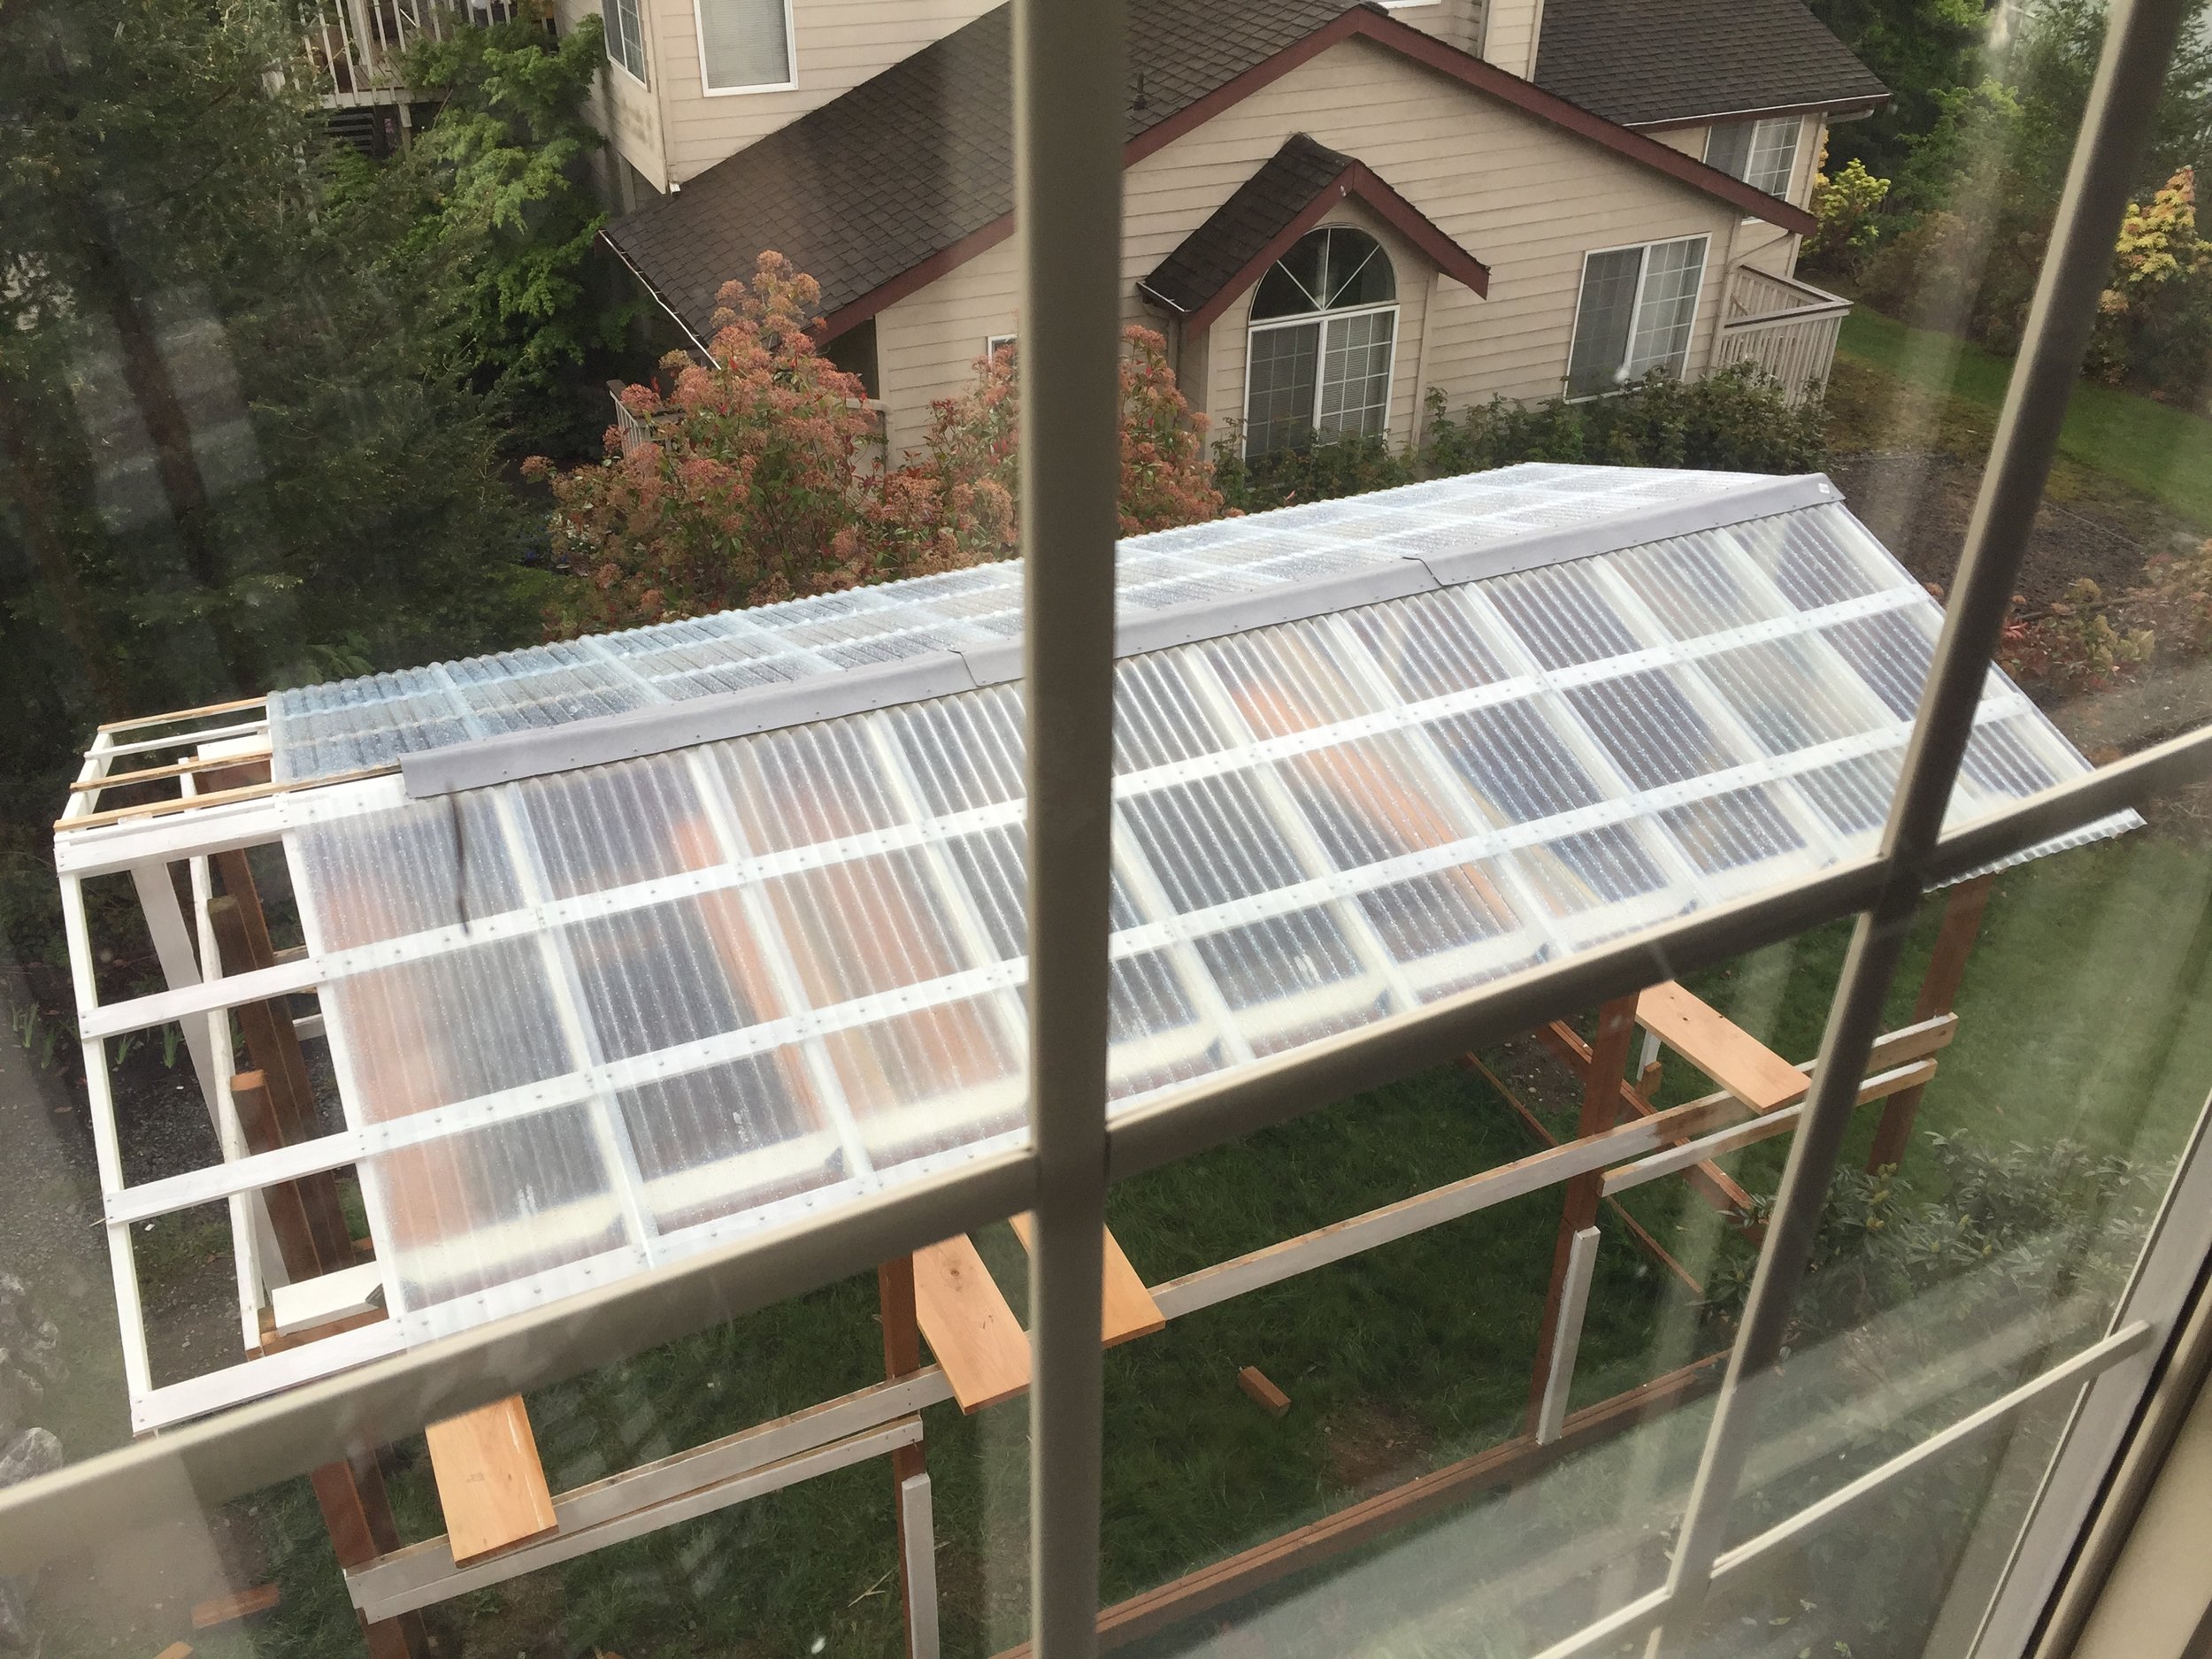
Once all the wood was screwed up, we placed the panels one by one, screwing them in with Tiek screws every 6". This went fairly fast- and we were able to completely nearly the whole roof in a couple hours. We finished it up with a roof cap to make sure that no water would leak in. You can get special screws that come with a foam washer that really help make sure that the holes that you create are sealed and will not draw water as you get rain or snow. I highly recommend them. They are located in the area of Lowe's/Home Depot, where the roof panels are.
A roof... Is it possible that this thing may actually work!??!